Table Of Contents
- Pre-requisites
- Enable Microsoft-Windows-Subsystem-Linux
- Enable Virtual Machine Platform
- Set WSL 2 as default version
- Install Linux Distro
- Install Windows Terminal
- Update Package Information
- Install ZSH
- Install Oh-My-Zsh
- Install Node.js
- References
Pre-requisites
WSL 2 requires running Windows 10, updated to version 2004, Build 19041 or higher
Enable Microsoft-Windows-Subsystem-Linux
Run below command in Powershell as an administrator to enable Windows Subsystem for Linux:
dism.exe /online /enable-feature /featurename:Microsoft-Windows-Subsystem-Linux /all /norestart
Enable Virtual Machine Platform
WSL 2 requires Virtual Machine Platform feature to be enabled.
Run below command in Powershell as an administrator:
dism.exe /online /enable-feature /featurename:VirtualMachinePlatform /all /norestart
Restart your machine to complete the WSL install and update to WSL 2.
Set WSL 2 as default version
Run the following command in PowerShell to set WSL 2 as the default version when installing a new Linux distribution:
wsl --set-default-version 2
You will get a message WSL 2 requires an update to its kernel component. For information please visit https://aka.ms/wsl2kernel
Go to https://aka.ms/wsl2kernel and download the latest WSL2 Linux kernel update package.
Install the package in your system.
Install Linux Distro
Open the Microsoft Store and select your favorite Linux distribution.
Here, we will be installing Ubuntu distro.
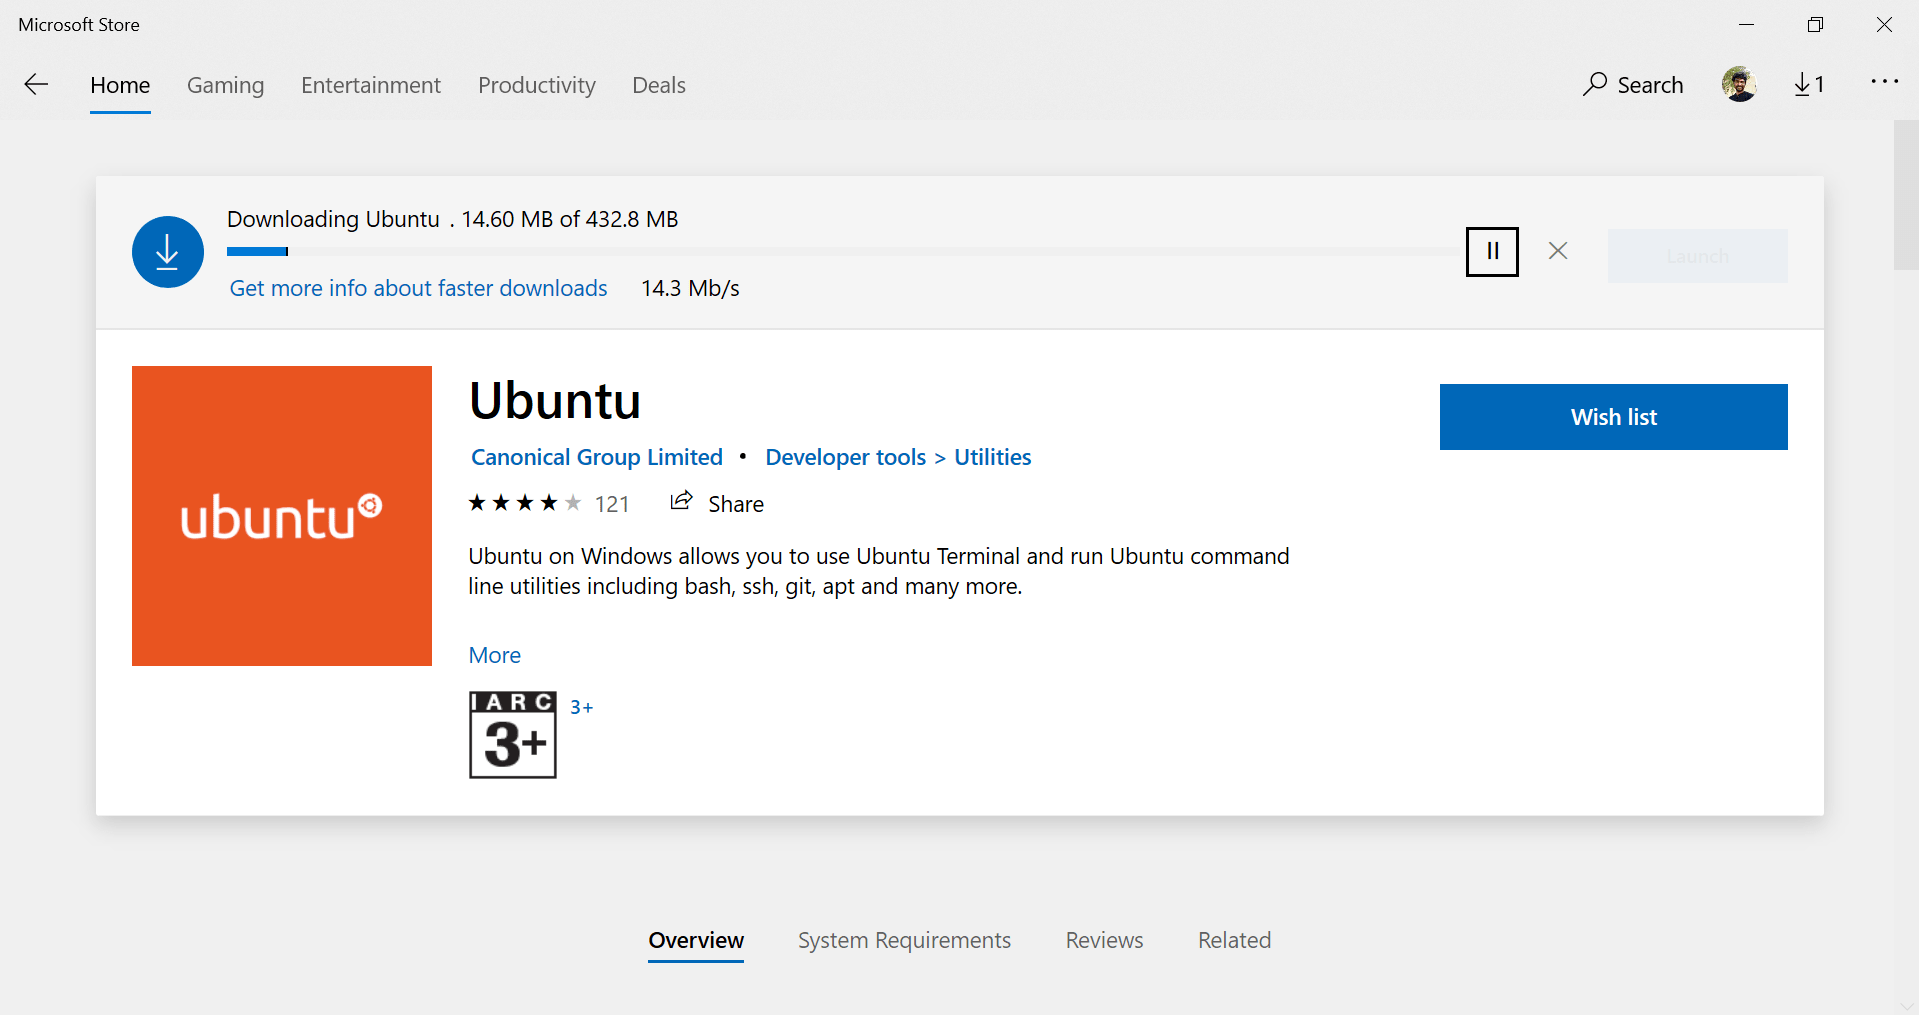
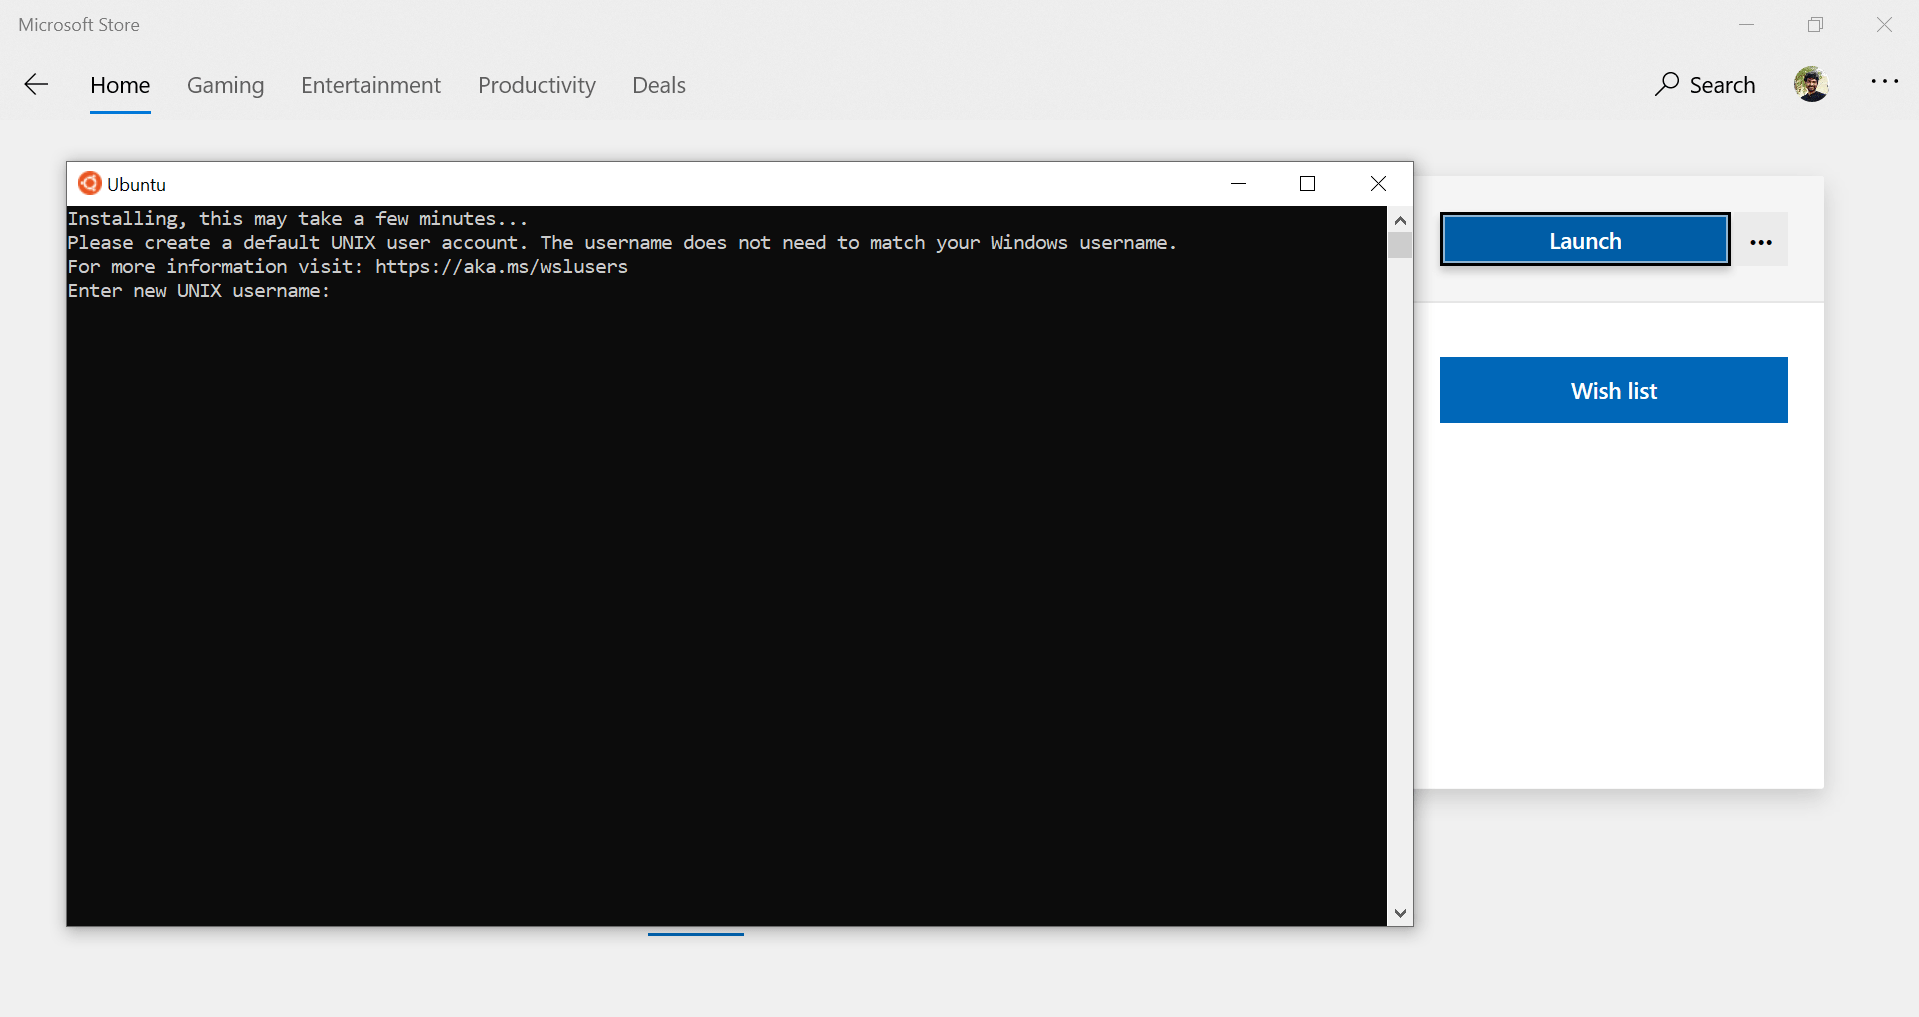
Once you have installed the Ubuntu distro, you can launch it which will open a new console window.
Here, you can provide a username and password for your account.
Install Windows Terminal
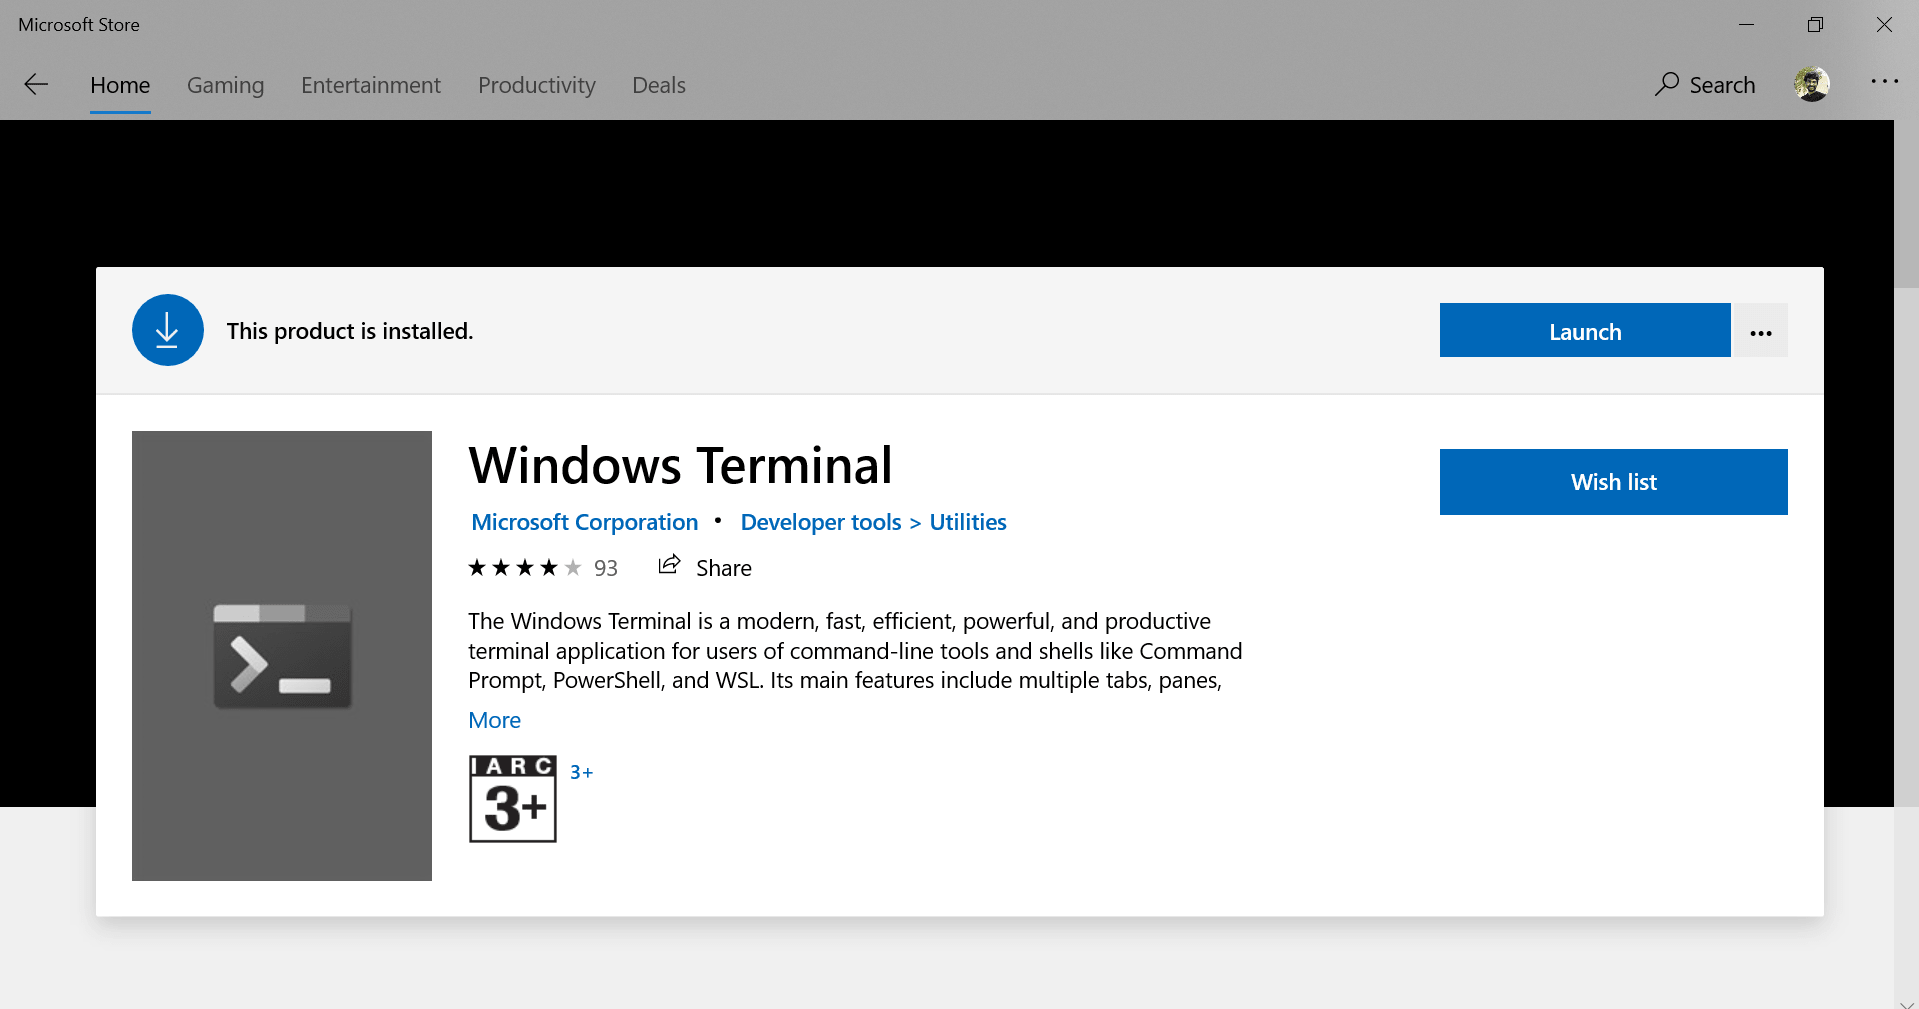
Windows Terminal is a modern, fast, efficient, powerful and productive terminal application for users of command line tools and shells like Command Prompt, PowerShell and WSL.
It’s main features include multiple tabs, panes, Unicode and UTF-8 character support, custom themes, styles and configurations.
Open the Microsoft Store and install Windows Terminal.
Run your windows terminal application and you should now see your Ubuntu shell in the dropdown.
As you can see, windows terminal provides access to multiple shells like Gitbash, Ubuntu, Azure Cloud, Powershell & Command Prompt in one terminal application.

Update Color Scheme
Let’s update our terminal to use Snazzy color scheme.
Open the terminal settings file by selecting settings option in the terminal dropdown.
Add snazzy color scheme to schemes list in the json file.
    "schemes": [
        {
            "name": "Snazzy",
            "foreground": "#eff0eb",
            "background": "#282a36",
            "selectionBackground": "#3e404a",
            "cursorColor": "#97979b",
            "black": "#282a36",
            "red": "#ff5c57",
            "green": "#5af78e",
            "yellow": "#f3f99d",
            "blue": "#57c7ff",
            "purple": "#ff6ac1",
            "cyan": "#9aedfe",
            "white": "#f1f1f0",
            "brightBlack": "#686868",
            "brightRed": "#ff5c57",
            "brightGreen": "#5af78e",
            "brightYellow": "#f3f99d",
            "brightBlue": "#57c7ff",
            "brightPurple": "#ff6ac1",
            "brightCyan": "#9aedfe",
            "brightWhite": "#eff0eb"
        }
    ]
In the profiles field, you have the list of shell settings. Update the WSL profile to use the new color scheme.
{
    "guid": "{2c4de342-38b7-51cf-b940-2309a097f518}",
    "hidden": false,
    "name": "Ubuntu",
    "source": "Windows.Terminal.Wsl",
    "colorScheme": "Snazzy"
}
Update Package Information
In your Ubuntu shell, update the package information:
$ sudo apt update
Install ZSH
ZSH, also called the Z shell, is an extended version of the Bourne Shell (sh), with plenty of new features, and support for plugins and themes.
Some of the major features are:
-
Automatic cd
-
Recursive path expansion
-
Spelling correction and approximate completion
-
Plugin and theme support
Install ZSH with below command:
sudo apt install git zsh -y
Install Oh-My-Zsh
Oh-My-Zsh is the most popular plugin framework for ZSH, and it comes with many built-in plugins and themes as well.
Run below command to install Oh-My-Zsh and also make Zsh as your default shell.
sh -c "$(curl -fsSL https://raw.githubusercontent.com/ohmyzsh/ohmyzsh/master/tools/install.sh)"
Cloning Oh My Zsh...
Cloning into '/home/harshad/.oh-my-zsh'...
remote: Enumerating objects: 1153, done.
remote: Counting objects: 100% (1153/1153), done.
remote: Compressing objects: 100% (1118/1118), done.
remote: Total 1153 (delta 20), reused 1097 (delta 19), pack-reused 0
Receiving objects: 100% (1153/1153), 772.72 KiB | 1.78 MiB/s, done.
Resolving deltas: 100% (20/20), done.

Looking for an existing zsh config...
Using the Oh My Zsh template file and adding it to ~/.zshrc.

Time to change your default shell to zsh:
Do you want to change your default shell to zsh? [Y/n] y
Changing the shell...
Password:
Shell successfully changed to '/usr/bin/zsh'.

         __                                     __
  ____  / /_     ____ ___  __  __   ____  _____/ /_
 / __ \/ __ \   / __ `__ \/ / / /  /_  / / ___/ __ \
/ /_/ / / / /  / / / / / / /_/ /    / /_(__  ) / / /
\____/_/ /_/  /_/ /_/ /_/\__, /    /___/____/_/ /_/
                        /____/                       ....is now installed!


Please look over the ~/.zshrc file to select plugins, themes, and options.
Pure Prompt
Pure is a pretty, minimal and fast ZSH prompt.
It comes with lot of features such as:
-
Perfect prompt character
-
Shows git branch and whether it’s dirty
-
Prompt character turns red if the last command didn’t exit with 0
-
Username and host only displayed when in an SSH session
-
Shows the current path in the title
Pure can be installed with NPM. Check out the NPM installation section before proceeding to next steps.
Run below command in administrative mode:
npm install --global pure-prompt
Sample Output:
> pure-prompt@1.12.0 postinstall-fail-instructions /home/harshad/.nvm/versions/node/v14.4.0/lib/node_modules/pure-prompt
> echo "ERROR: Could not automagically symlink the prompt. Either:\n1. Check out the readme on how to do it manually: https://github.com/sindresorhus/pure#manually\n2. Or add the following to your \`.zshrc\`:\n\n    fpath+=('$PWD/functions')"

ERROR: Could not automagically symlink the prompt. Either:
1. Check out the readme on how to do it manually: https://github.com/sindresorhus/pure#manually
2. Or add the following to your `.zshrc`:

    fpath+=('/home/harshad/.nvm/versions/node/v14.4.0/lib/node_modules/pure-prompt/functions')
+ pure-prompt@1.12.0
updated 1 package in 0.741s
Once the installation completes, add the fpath mentioned in above output to your ~/.zshrc file as shown below.
Note: Below lines need to be added after source $ZSH/oh-my-zsh.sh line in the profile
fpath+=('/home/harshad/.nvm/versions/node/v14.4.0/lib/node_modules/pure-prompt/functions')
autoload -U promptinit; promptinit
prompt pure
Also, set zsh theme to empty in your .zshrc to disable oh-my-zsh themes.
# existing theme in profile
ZSH_THEME="robbyrussell"

# remove the theme in above setting
ZSH_THEME=""
Finally, activate your ~/.zshrc profile to change the prompt.
source ~/.zshrc
Syntax Highlighting
zsh-syntax-highlighting provides syntax highlighting for the shell zsh. It enables highlighting of commands whilst they are typed at a zsh prompt into an interactive terminal.
Clone the repository in oh-my-zsh’s plugins directory:
git clone https://github.com/zsh-users/zsh-syntax-highlighting.git ${ZSH_CUSTOM:-~/.oh-my-zsh/custom}/plugins/zsh-syntax-highlighting
Add the plugin to ~/.zshrc profile:
# add zsh-syntax-highlighting to the list of plugins
plugins=(
        git
        zsh-syntax-highlighting
)
Activate the profile:
source ~/.zshrc
Enjoy code highlights as you type!
Install Node.js
Install NVM
We will use node version manager to install Node.js and Node Package Manager (npm).
Run below command to install NVM.
curl -o- https://raw.githubusercontent.com/nvm-sh/nvm/v0.35.3/install.sh | bash
Note: If you have Node.js installed in your Windows system then above step will display this error main: /mnt/c/Program Files/nodejs/npm: /bin/sh^M: bad interpreter: No such file or directory as WSL will export windows environment variables and make them available to your linux distro shell.
Note: WSL 2 allows interoperability between your windows and linux system. If you install Node.js in your linux distro then it will be set in the path before windows variables
Load NVM and Bash Completion
If you’re using zsh, then you need to load nvm and bash_completion.
Add below lines to your ~/.zshrc file:
export NVM_DIR="$HOME/.nvm"
[ -s "$NVM_DIR/nvm.sh" ] && \. "$NVM_DIR/nvm.sh"  # This loads nvm
[ -s "$NVM_DIR/bash_completion" ] && \. "$NVM_DIR/bash_completion"  # This loads nvm bash_completion
Reload your zsh profile with command:
source ~/.zshrc
Install Node
You can now install node with below command:
nvm install node
Check if node is installed by running below command:
nvm ls
->      v14.4.0
default -> node (-> v14.4.0)
node -> stable (-> v14.4.0) (default)
stable -> 14.4 (-> v14.4.0) (default)
iojs -> N/A (default)
unstable -> N/A (default)
lts/* -> lts/erbium (-> N/A)
lts/argon -> v4.9.1 (-> N/A)
lts/boron -> v6.17.1 (-> N/A)
lts/carbon -> v8.17.0 (-> N/A)
lts/dubnium -> v10.21.0 (-> N/A)
lts/erbium -> v12.18.1 (-> N/A)
References
https://docs.microsoft.com/en-us/windows/wsl/install-win10
https://docs.microsoft.com/en-us/windows/nodejs/setup-on-wsl2