Table Of Contents
Github PAT
Generate PAT (Personal Access Token) with needed permissions to clone/push your changes to your Organization repositories from Sagemaker Studio.
Please follow this guide for generating PAT as it is beyond the scope of this article - https://docs.github.com/en/authentication/keeping-your-account-and-data-secure/managing-your-personal-access-tokens
Note: Sagemaker Github integration is less flexible in terms of using respective user tokens for commits. So, we recommend creating PAT using a shared user which makes things easier than fiddling with the github tokens for each user.
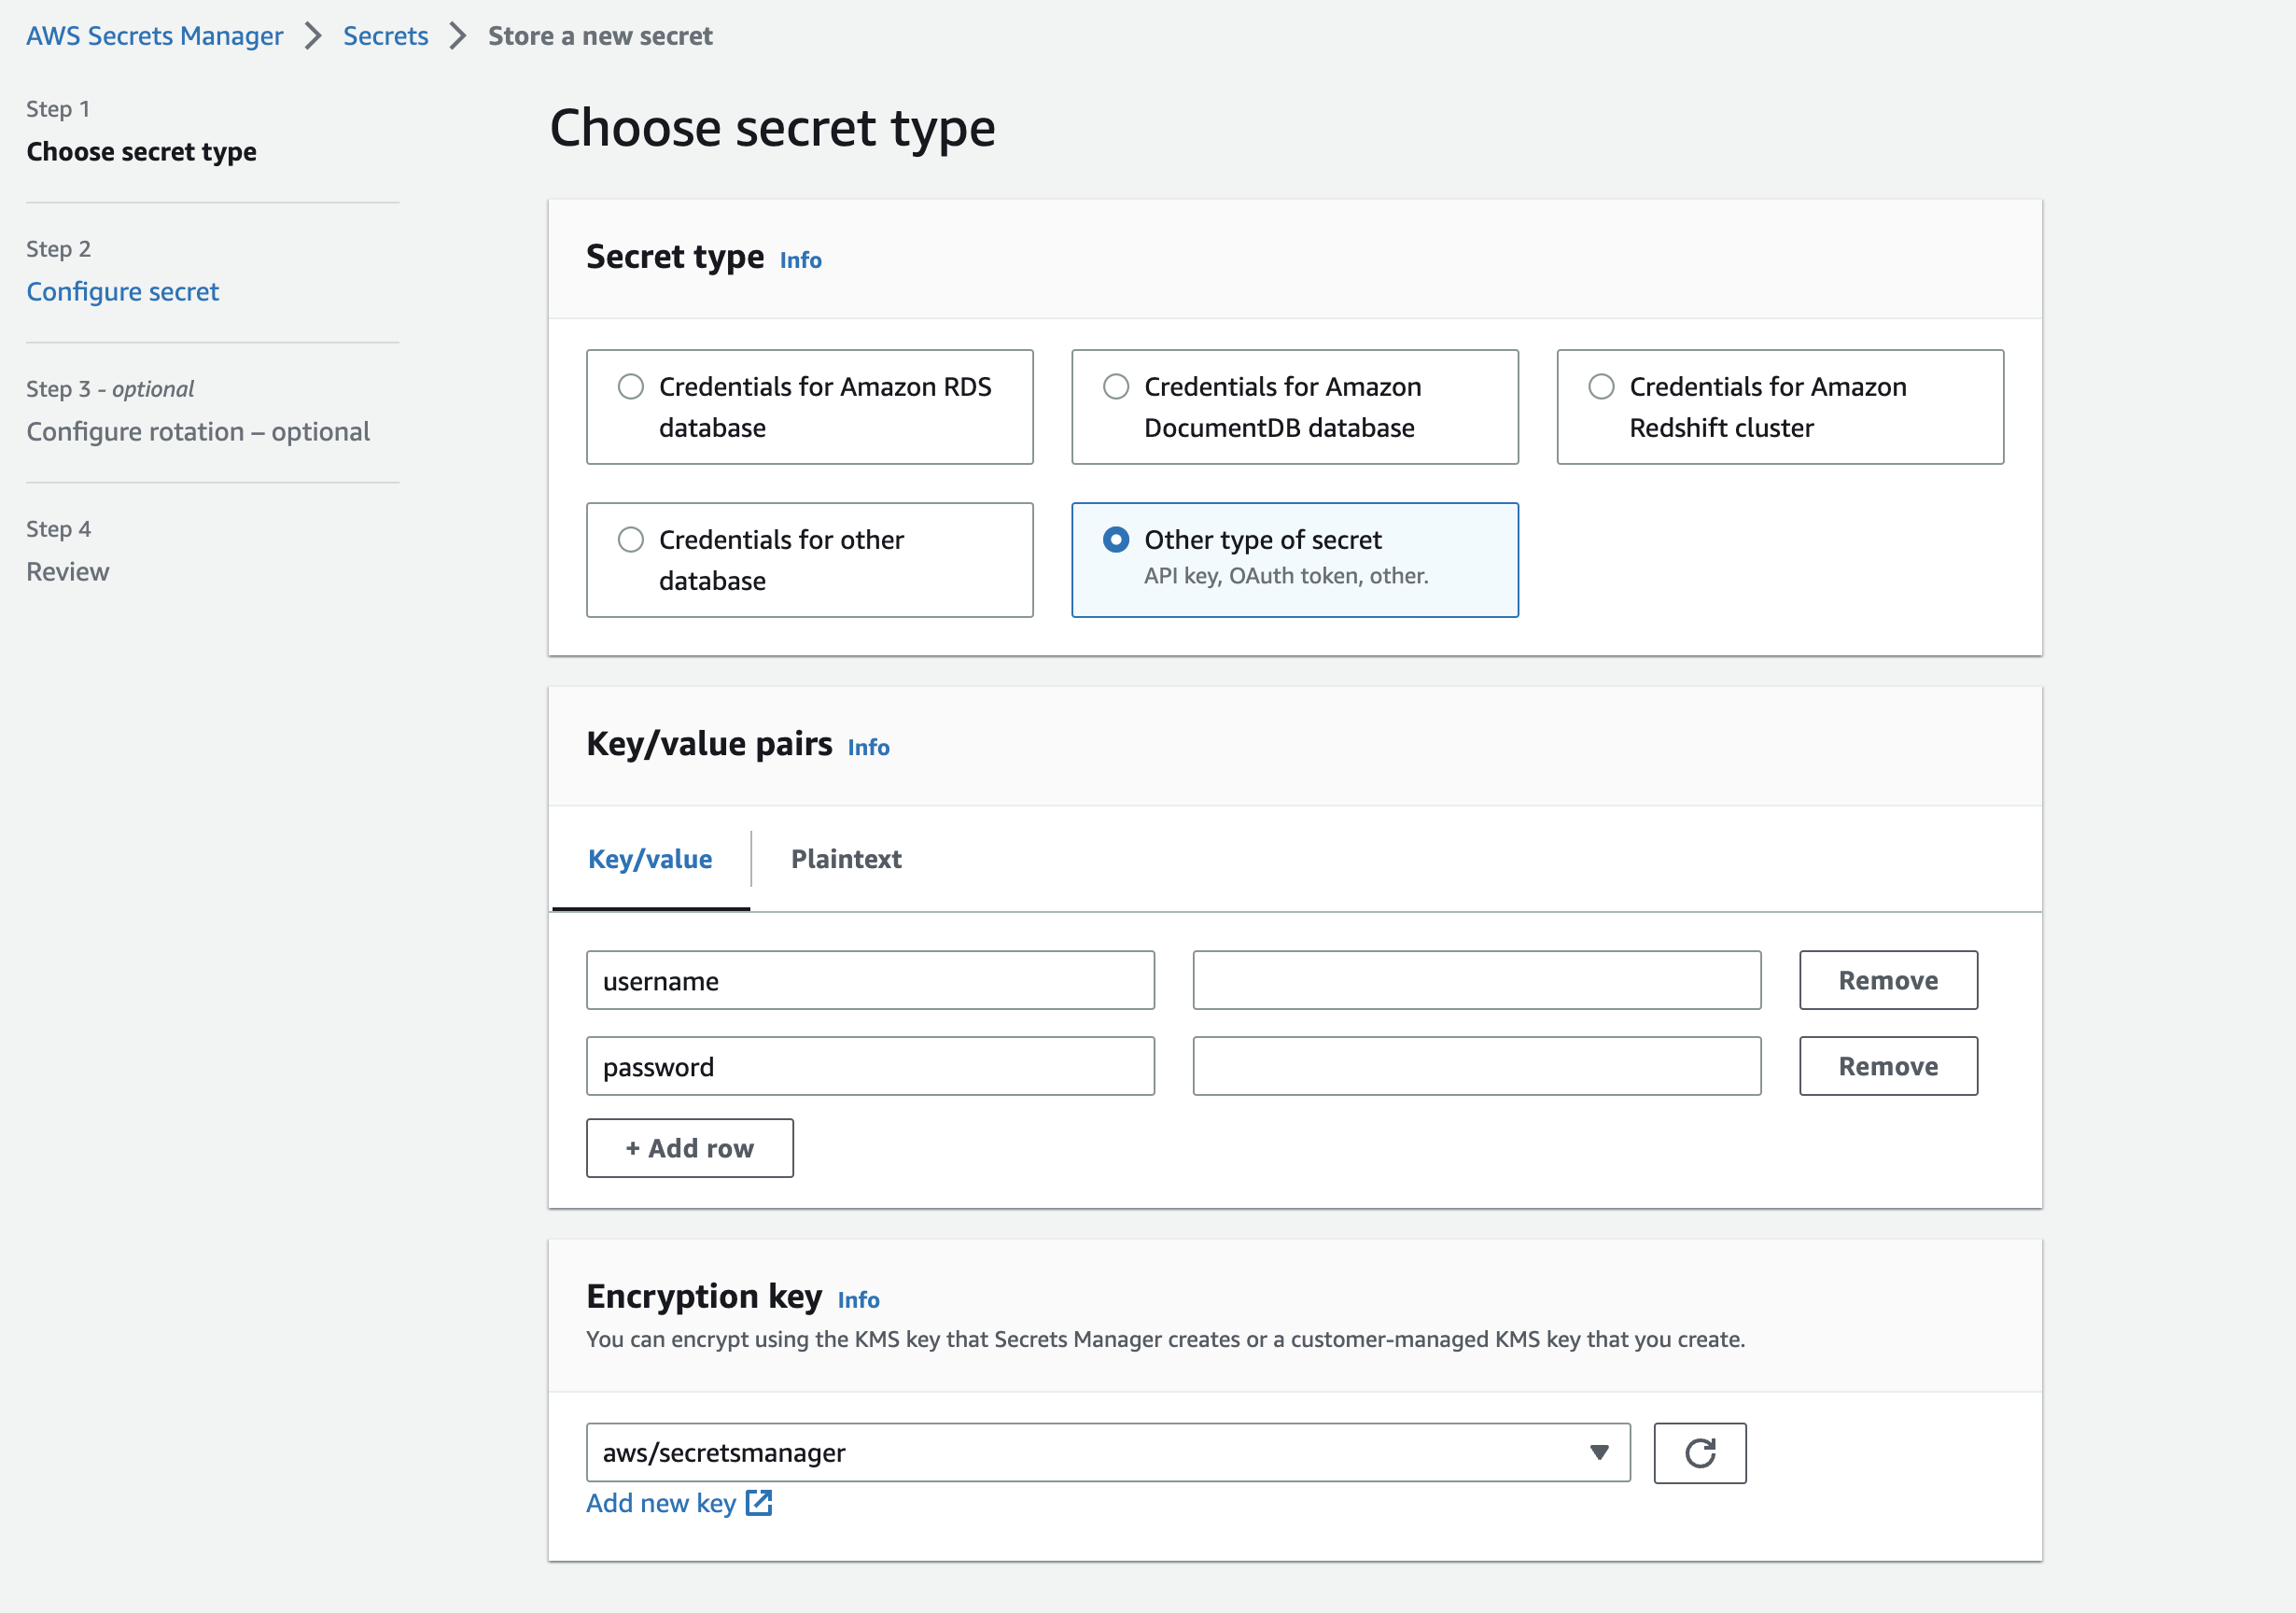
PAT in AWS Secrets Manager
Configure the PAT as a password in the SecretsManager as shown below.
Configure the user you would like to use for checkout/commits in the username field.
Sagemaker
Next steps, we configure the scripts to utilize the PAT in Secrets Manager for checkout/commits of Repo changes in Sagemaker.
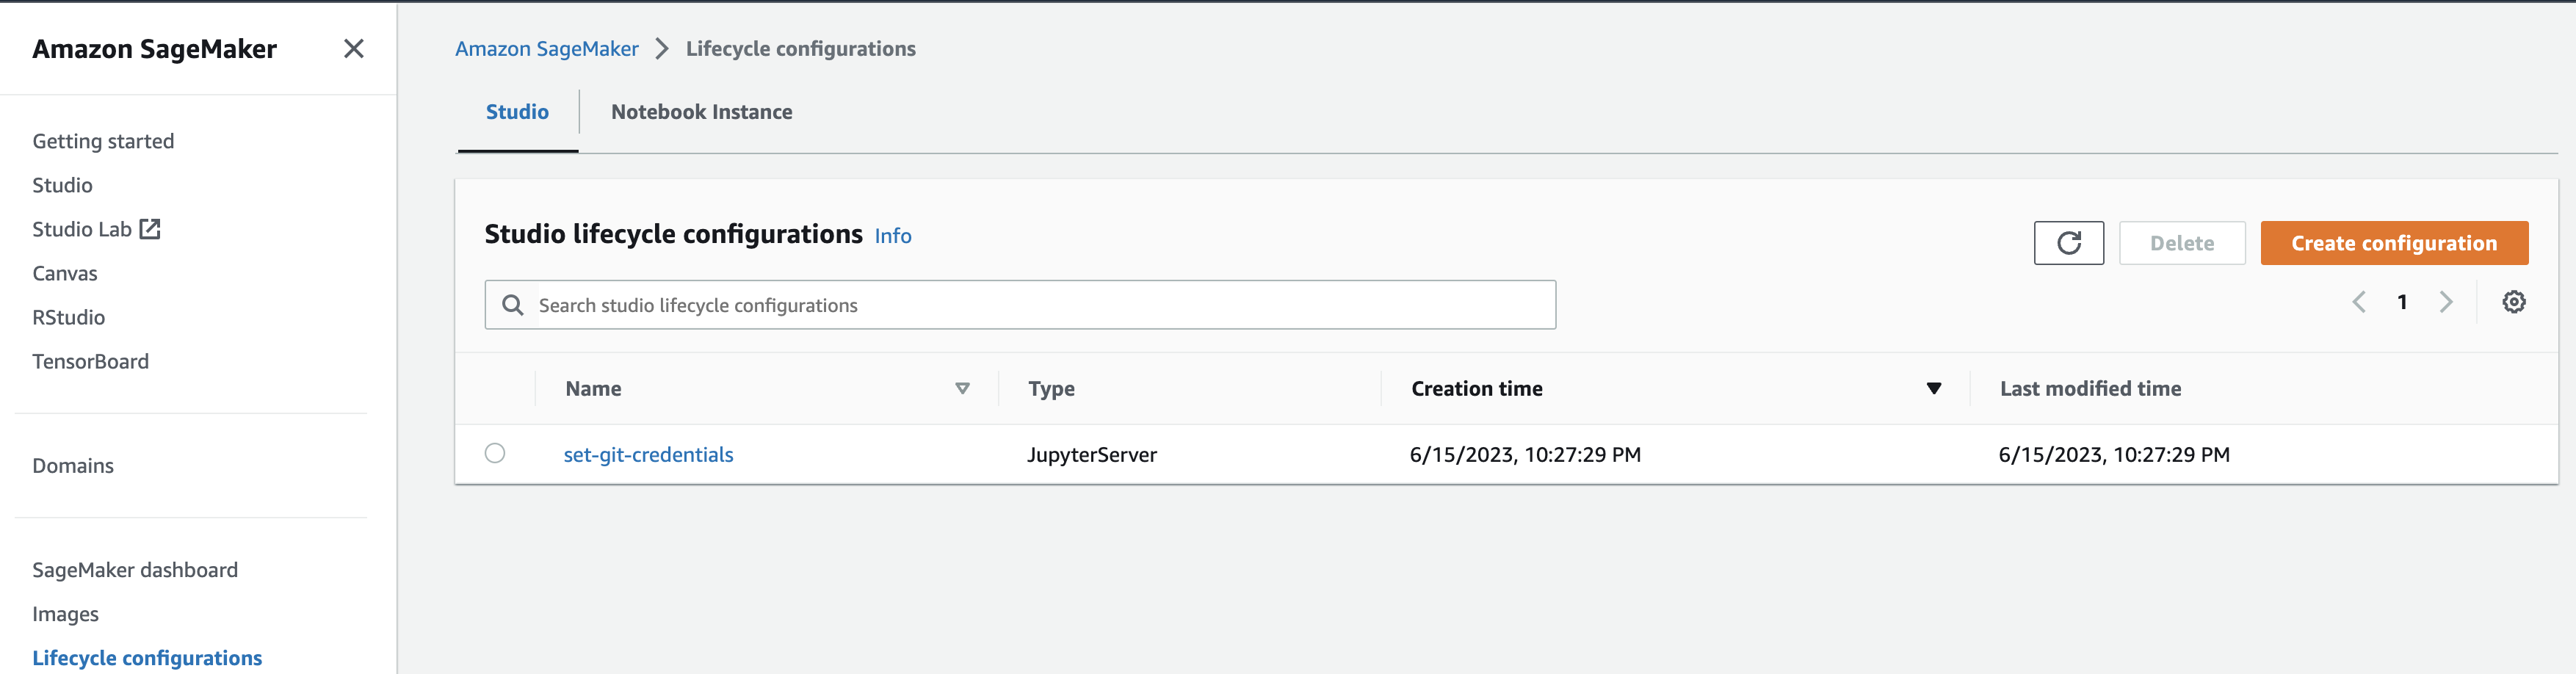
Lifecycle Configurations
Lifecycle Configurations are shell scripts triggered by Amazon SageMaker Studio lifecycle events, such as starting a new Studio notebook.
You can use Lifecycle Configurations to automate customization for your Studio environment.
We use this feature to configure bootstrapping of Github credentials into the Sagemaker domain.
Create a new Lifecycle configuration of type JupyterServer, give an appropriate lifecycle name and paste below script into it.
Above contains a credential helper python script which will get invoked for git operations so your token is safe in AWS Secrets Manager and will not be in the local store.
Update the shell script with the Email address (line 17) & Secret name (line 21).
Above will execute as follows:
[1] Script will be executed at the start of the JupyterServer app.
[2] It will create aws-credential-helper.py and configure Git credential helper to use this script for authenticating with Github.
[3] Also, it will configure the Git username and email at a global level to be used for checkouts/commits.
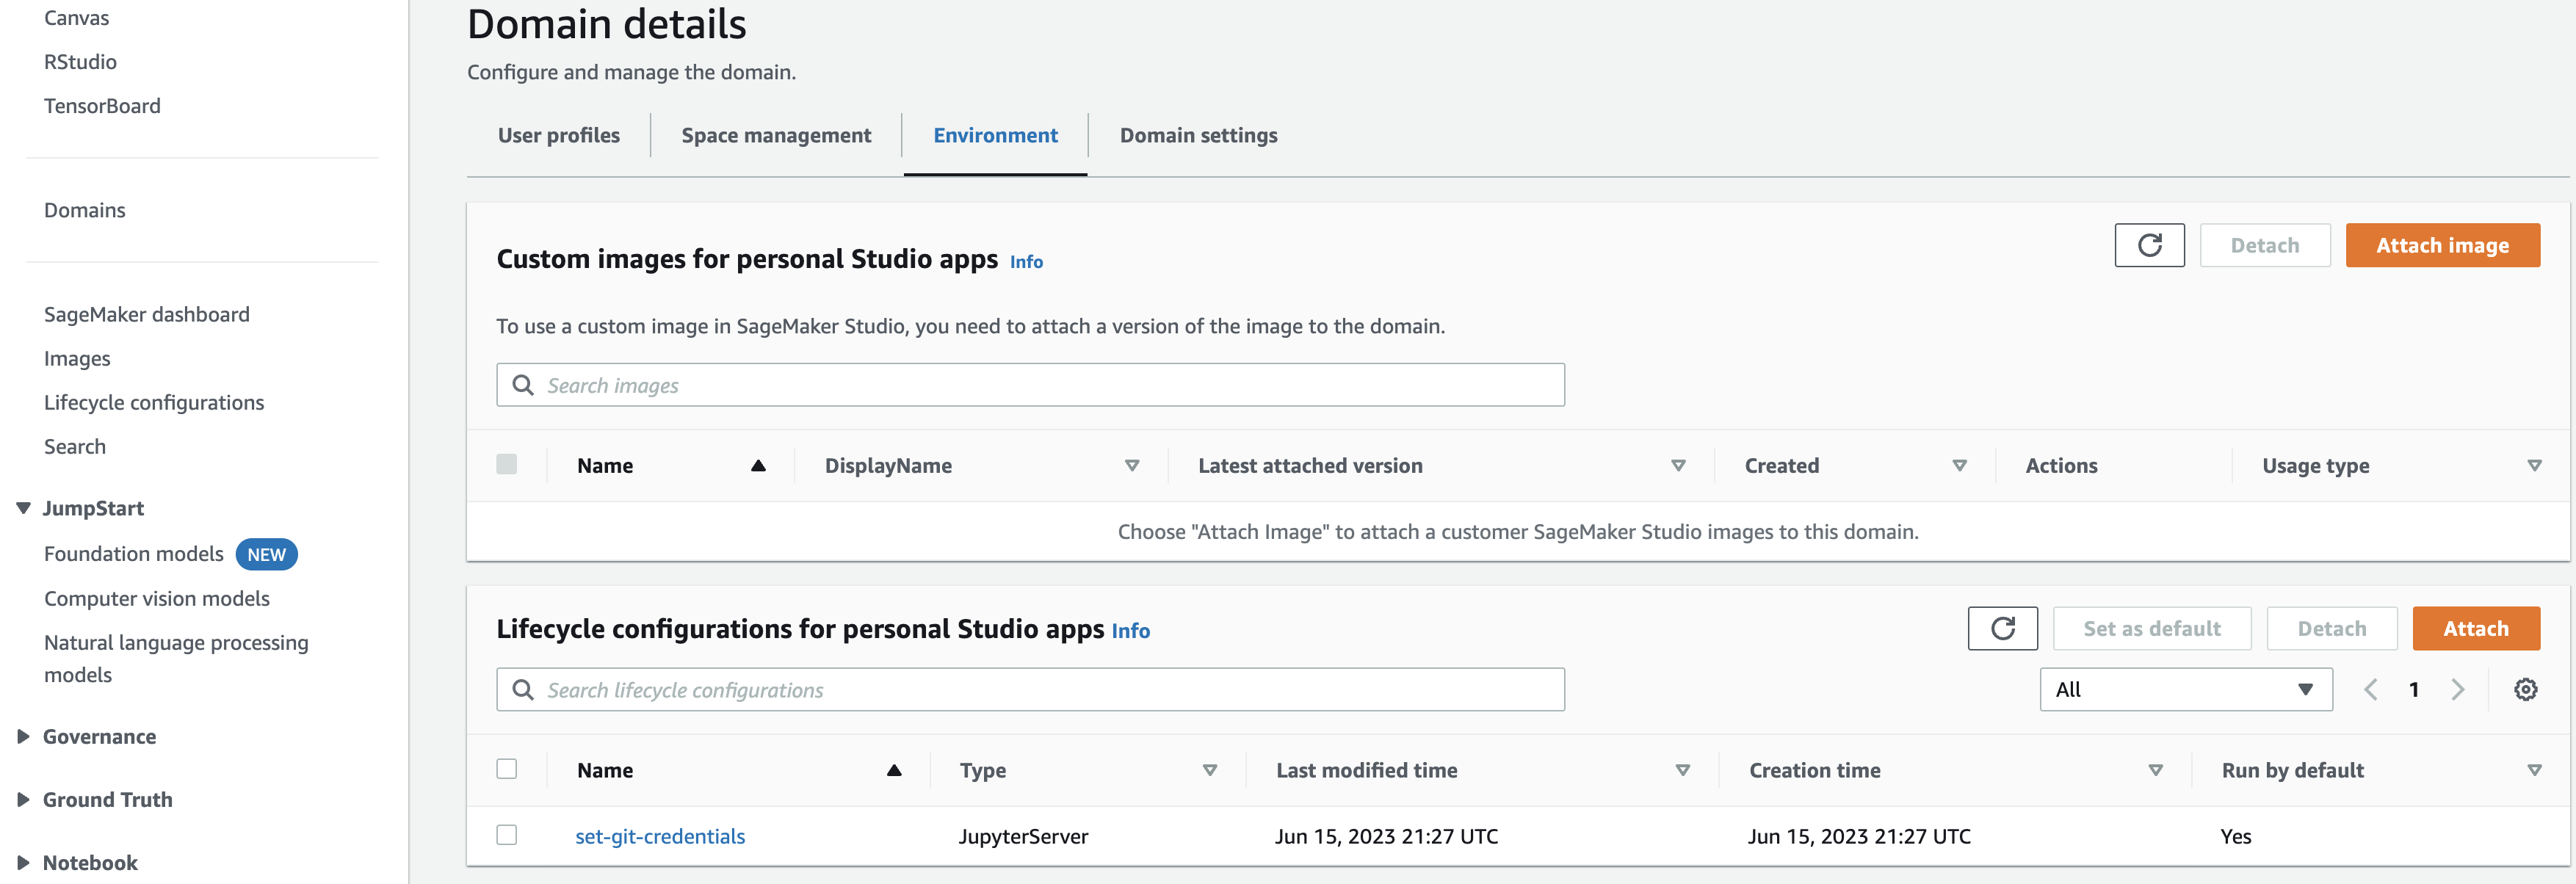
Attach Lifecycle Configurations to Domain
Go to your Domain, under Environment tab, attach the newly created lifecycle configuration.
Basically, we want to attach this as a lifecycle script at a Domain level.
Ensure you set the script to Run by default otherwise your script won’t be automatically executed on startup.
Shutdown Domain
If you domain has apps already running, shutdown the server and start again so that the lifecycle scripts get executed.
Inside your studio, you can achieve this by File -> Shutdown -> Shutdown Server/Shutdown All
boto3 Install
Our credential script uses boto3 module which isn’t available by default in the domain app.
So, we install it by opening a new terminal File -> New -> Terminal and running below command:
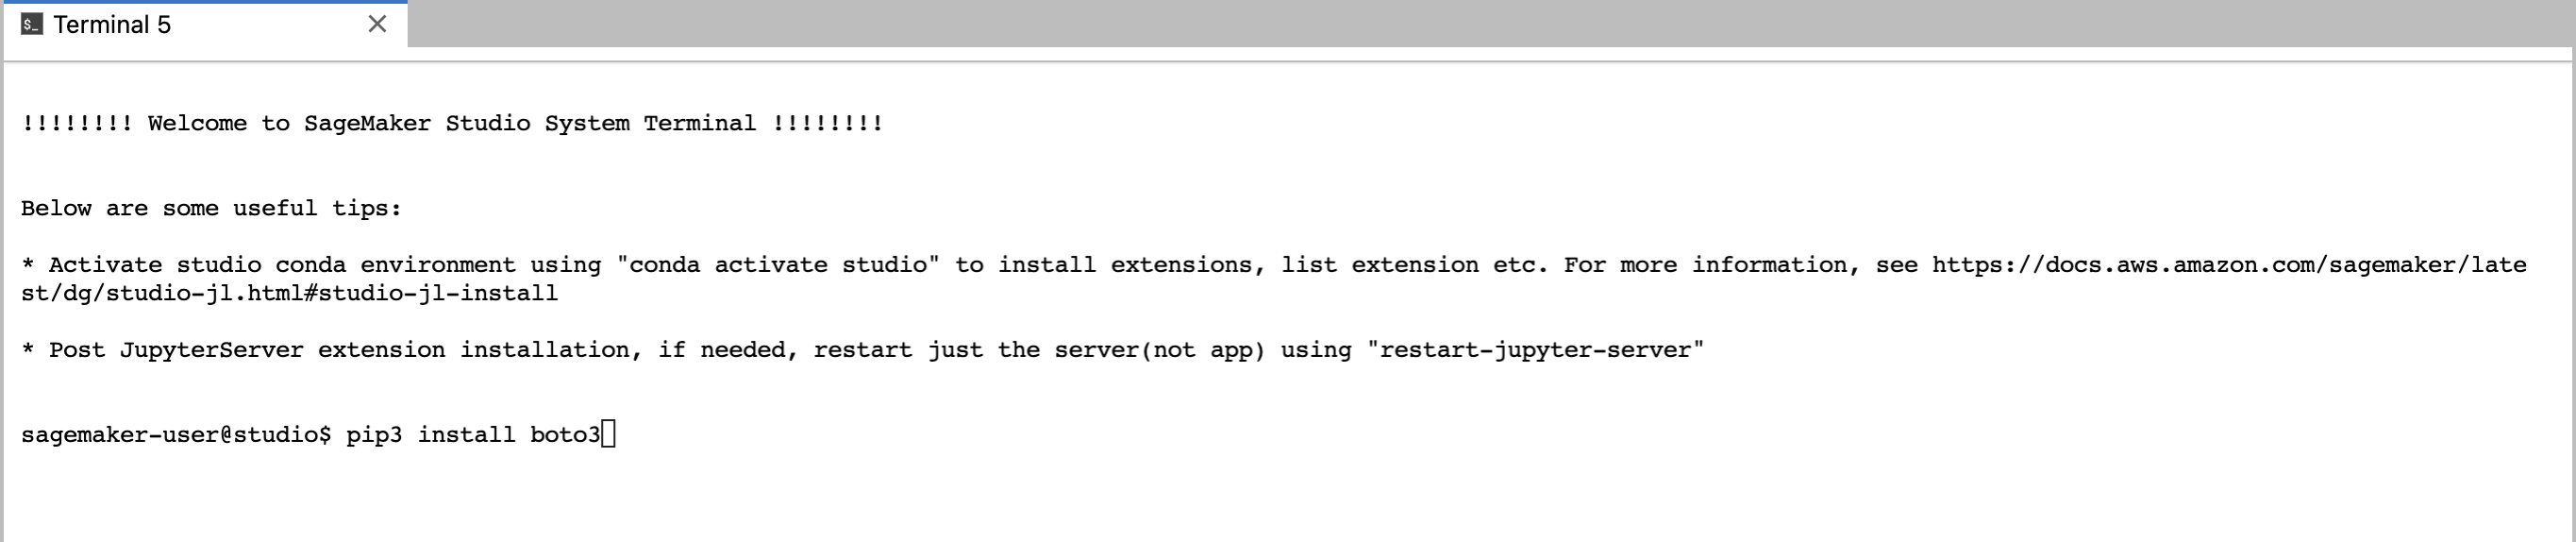
Above needs to be done only once.
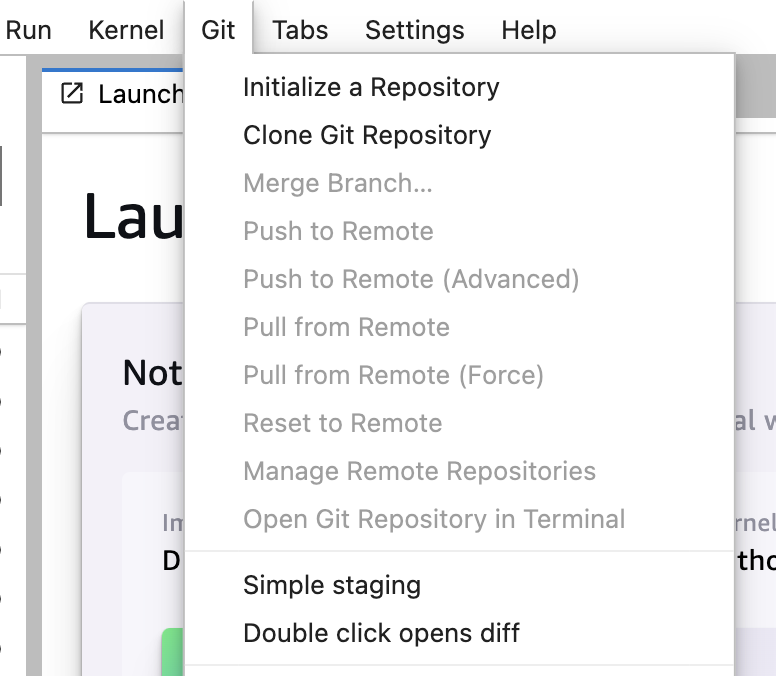
Clone Repo
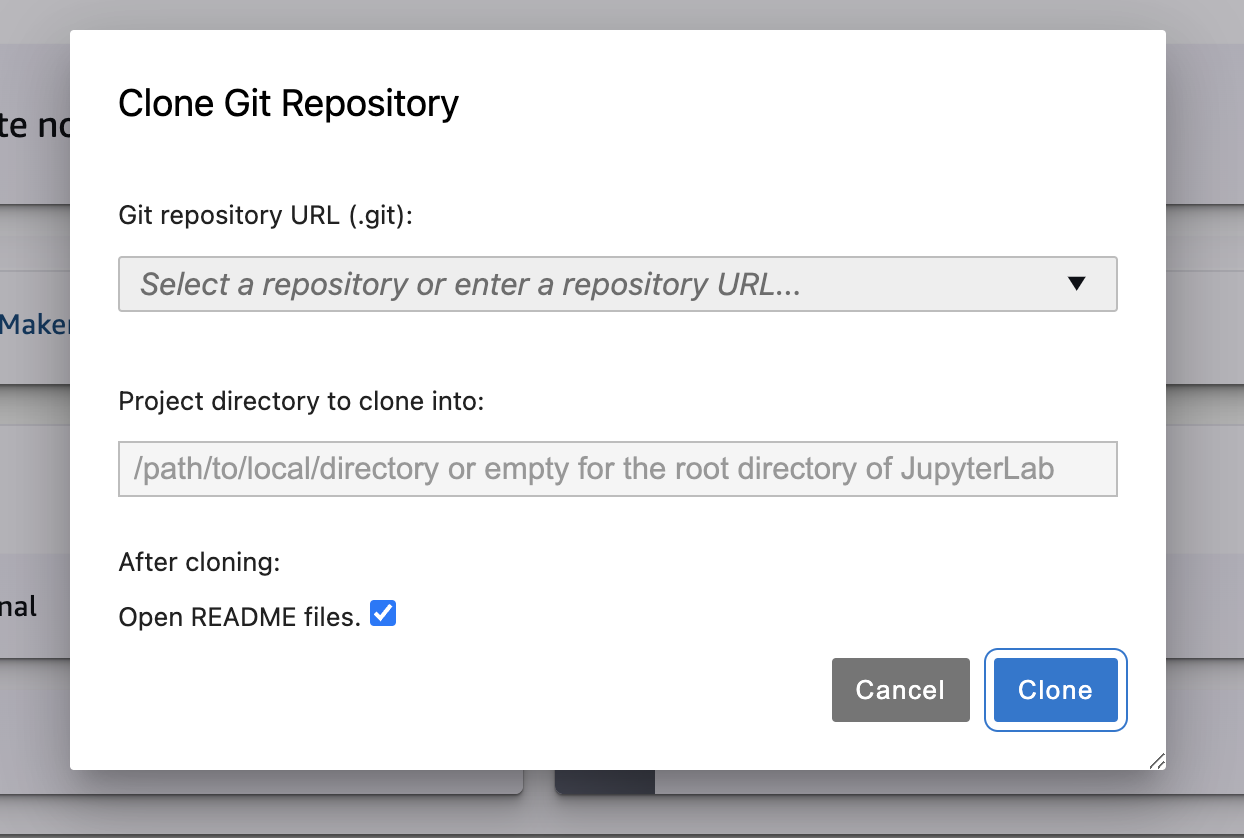
You can now clone the repo of your choice in the Git tab and Clone Git Repository option.
Enter the clone url, select it and click Clone.
New Terminal tab will pop up and run the Git Clone command (which will use the aws-credential-helper.py) and clone the repo successfully.
Push Changes
You can make changes to your notebook, commit and push them in the same studio.
It will use the global username & email address for pushing the commits.
If you didn’t configure the global username & email address in the lifecycle script, then a pop-up will appear asking you the username and email to be used for pushing the commits.
But the problem is once you provide any specific user details, the pop-up won’t appear again for each commit or a different user so hence we suggest to use the token of a shared user. Alternatively, each user has to change the details before their commit but it’s error prone and might cause commits to be pushed under wrong user name.